AI YOUTUBE WORKFLOW · HONEST COSTS · REAL STEPS
How to make a YouTube video with AI without underestimating the work
A practical guide to the full AI YouTube workflow: script first, voiceover second, visuals third, editing last — with real cost warnings, official tool links and prompts you can copy.
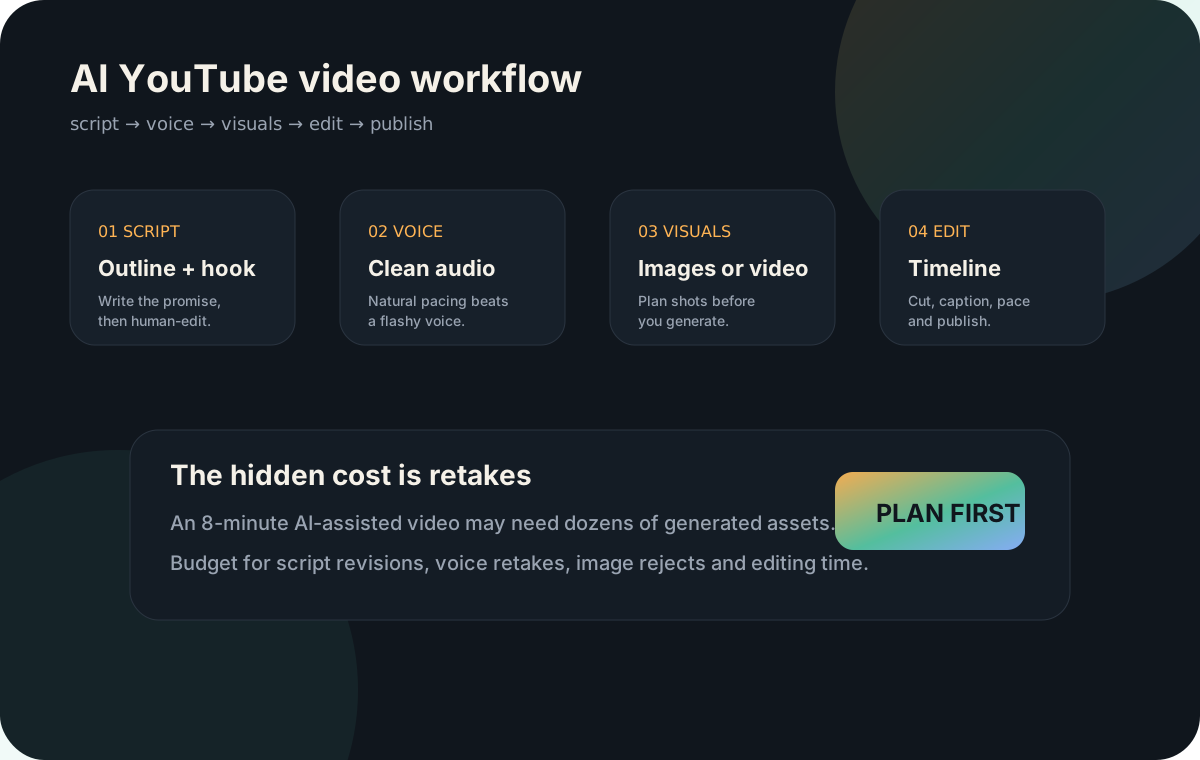
The honest workflow: AI YouTube videos are possible, but not automatic
Many beginners think an AI YouTube video is one prompt: “make a video about this topic.” That is the fastest way to get a generic video that looks impressive for ten seconds and then becomes boring. A good AI-assisted YouTube video is a workflow. You need a script, a voice, a visual plan, generated assets, an edit and a budget for retakes.
The reason ClipBudget treats this as a production workflow is simple: every step creates cost and quality risk. A weak script makes the best visuals feel pointless. A robotic voice makes a good script hard to watch. Random images make the timeline feel disconnected. A rushed edit makes even expensive AI video look cheap.
Step 1 — Start with the script, not the visuals
Your script is the blueprint. Before you generate any image or video clip, write the angle, promise, hook, structure and narration. You can use ChatGPT or Claude for this, but you should not blindly publish the first output.
ChatGPT is usually better for
- Fast ideation and hooks
- Title and thumbnail angle variations
- Short-form scripts and YouTube Shorts structures
- Turning outlines into promptable shot lists
Claude is usually better for
- Longer narration flow
- Less choppy explanatory scripts
- Critiquing weak logic or boring sections
- Keeping tone consistent across a long script
The safest workflow is to use one AI to draft and the other to critique. Example: draft the script in ChatGPT, then ask Claude to identify boring parts, unclear claims and missing visual moments. Or write a longer first draft in Claude and ask ChatGPT to create the opening hook, retention pattern and shot list.
Step 2 — Create audio that sounds human enough to keep attention
Audio carries the video. Viewers forgive simple visuals faster than they forgive bad sound. You can record your own voice, use text-to-speech, or use a hybrid workflow where AI helps clean and enhance your recording.
For faceless channels, the voiceover should sound clear, steady and emotionally appropriate. It does not need to sound dramatic. It needs to be easy to listen to for the full video. Pay attention to pacing, pronunciation, pauses, tone, background noise and the legal/commercial rights of the voice you use.
| Audio route | Typical cost | Best for | Risk |
|---|---|---|---|
| Own voice + cleanup | Free to low cost | Trust, authenticity, commentary | Requires confidence and recording time |
| AI voiceover | Free tier to paid creator plans | Faceless channels, repeated publishing | Can sound generic if overused |
| Descript-style editing | Free to paid plans | Script-based editing and cleanup | Needs careful review |
| Voice actor | Higher cost | Premium brand videos | Less flexible for fast revisions |
Useful official starting points: ElevenLabs pricing, Descript pricing, and your own phone or microphone if you want the cheapest authentic route.
Step 3 — Choose your visual approach: images, image-to-video or direct video
This is where most people underestimate the work. Generating one good-looking image is easy. Creating 40 visuals that support one story is harder. For YouTube, you can build visuals in three main ways.
AI images first
Create still images for each scene, then add zooms, pans or image-to-video motion. This is often cheaper and easier to control for faceless videos.
Image-to-video
Use a chosen image as the first frame or reference. This usually gives better consistency than pure text-to-video, but still needs retakes.
Direct AI video
Generate motion directly from a prompt. This is powerful for cinematic clips, ads and B-roll, but it can become expensive fast.
Current official pricing varies widely. For example, OpenAI lists Sora video API prices per second, Google lists Veo 3.1 pricing per second in Gemini API documentation, and Runway uses credits where API credits can be purchased at a credit rate. Always check the official pricing page before production.
Step 4 — Edit the video so it feels watchable, not just generated
Editing is what turns AI assets into a YouTube video. You need pacing, captions, audio levels, motion, transitions, on-screen text and a final quality check. A slideshow of nice AI images is rarely enough.
Good beginner tools include CapCut for fast short-form edits, Canva for template-based social video and simple design, and Descript for text-based editing, voice work and cleanup.
Editing checklist
- Hook appears in the first 5–10 seconds.
- Voiceover is not too fast and not too flat.
- Every visual supports the current sentence.
- Captions are readable on mobile.
- There is a pattern interrupt every 5–12 seconds.
- Music is quiet enough under speech.
- Claims, names and numbers are fact-checked.
- Export matches the platform: 16:9 for long-form, 9:16 for Shorts.
What does an AI YouTube video actually cost?
The honest answer: it depends on the length, quality bar and number of retakes. A simple faceless video can be almost free if you write the script yourself, use your own voice and edit in a free tool. A premium AI-generated video with custom voice, direct AI video clips and multiple retakes can cost much more.
| Workflow | Approximate tool cost | What you trade off |
|---|---|---|
| Lean beginner workflow | $0–$20/month | More manual work, fewer premium generations |
| Creator workflow | $20–$80/month | Better voice/editing/generation capacity, still needs retakes |
| Heavy AI video workflow | $80–$300+/month or API spend | Higher output volume, but direct video costs can rise quickly |
| Agency/client workflow | Project-based | Revisions, approvals and consistency matter more than raw generation cost |
Use the AI video cost calculator to estimate generation costs and the YouTube AI video budget guide for a broader production budget.
Starter prompts for the full workflow
I want to make a YouTube video about [topic] for [audience]. Create a video strategy with: target viewer, core promise, 5 possible titles, opening hook, outline, expected objections, and a scene-by-scene visual plan. Keep the tone [tone]. Do not write the full script yet.
Turn this outline into a natural YouTube voiceover script. Use short sentences, clear transitions and a conversational tone. Mark pauses with [pause]. Avoid hype. Explain difficult ideas simply. Target length: [minutes].
Read this script and create a shot list. For each scene include: timestamp, narration summary, visual idea, image prompt, video prompt, recommended aspect ratio, and whether the asset should be AI image, image-to-video, stock footage, screenshot or simple text overlay.
Create an editing plan for this YouTube video. Include opening 10 seconds, pacing notes, where to add captions, where to use zooms/pans, where to insert B-roll, music style, sound effects and final quality checklist.
FAQ
What should I create first: script, audio or visuals?
Start with script and structure. Then record or generate the voiceover. After that, create visuals that fit the voiceover line by line.
Can I use ChatGPT or Claude for the whole script?
Yes, but you should edit the result. AI can draft quickly, but it may create generic intros, weak claims or repetitive phrasing. Use prompts that force a hook, structure, examples and visual notes.
Is direct AI video better than AI images?
Not always. AI images are often cheaper and more controllable. Direct AI video is better when motion matters, but it usually needs more retakes and budget.